How do you store flour in the pantry? We all agree that flour is a fundamental ingredient in countless recipes and plays a pivotal role in the world of cooking and baking. Whether you’re a seasoned chef or just an occasional home cook, knowing how to store flour in your pantry is essential to maintaining its freshness, flavor, and quality. This comprehensive guide will delve into the intricacies of storing flour effectively to ensure that your culinary endeavors always start with the best possible ingredients. Check my latest post on How to Store Flour in the Pantry.
How Do You Store Flour In the Pantry
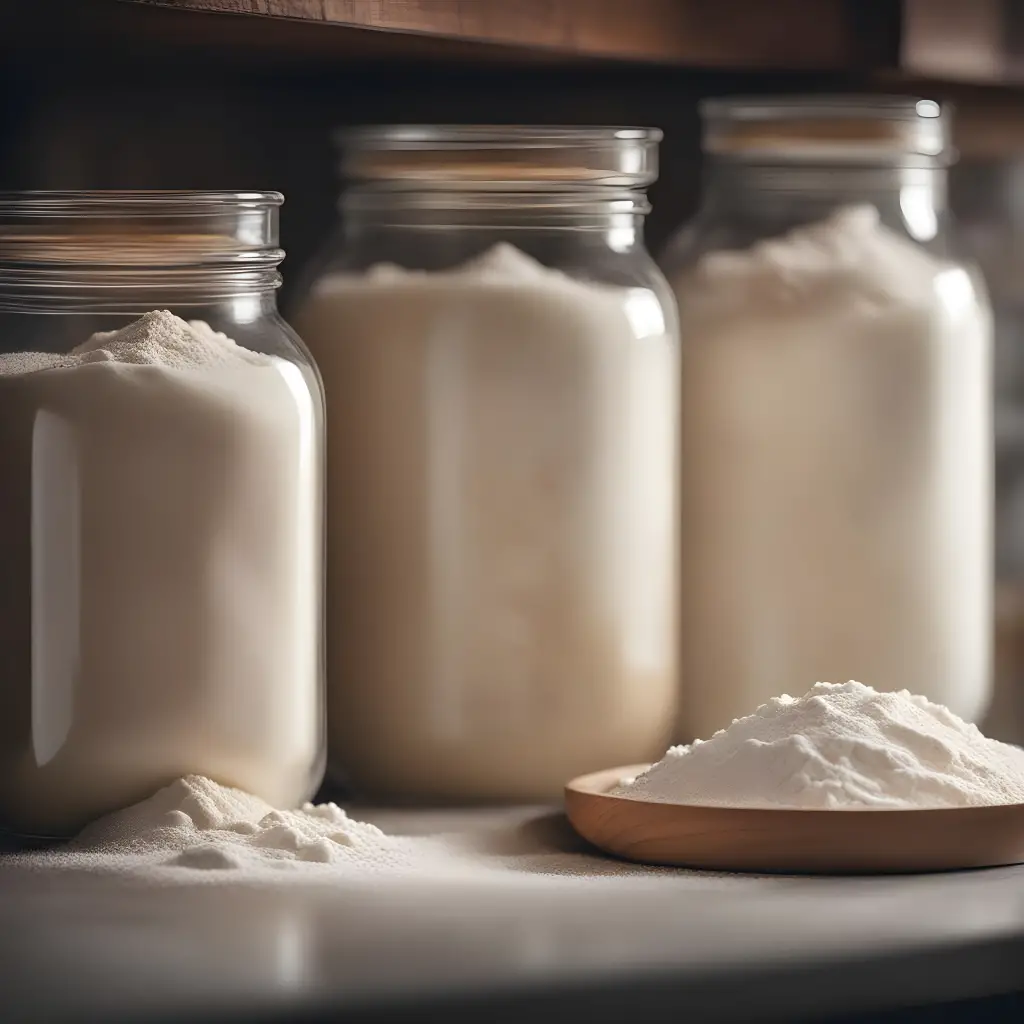
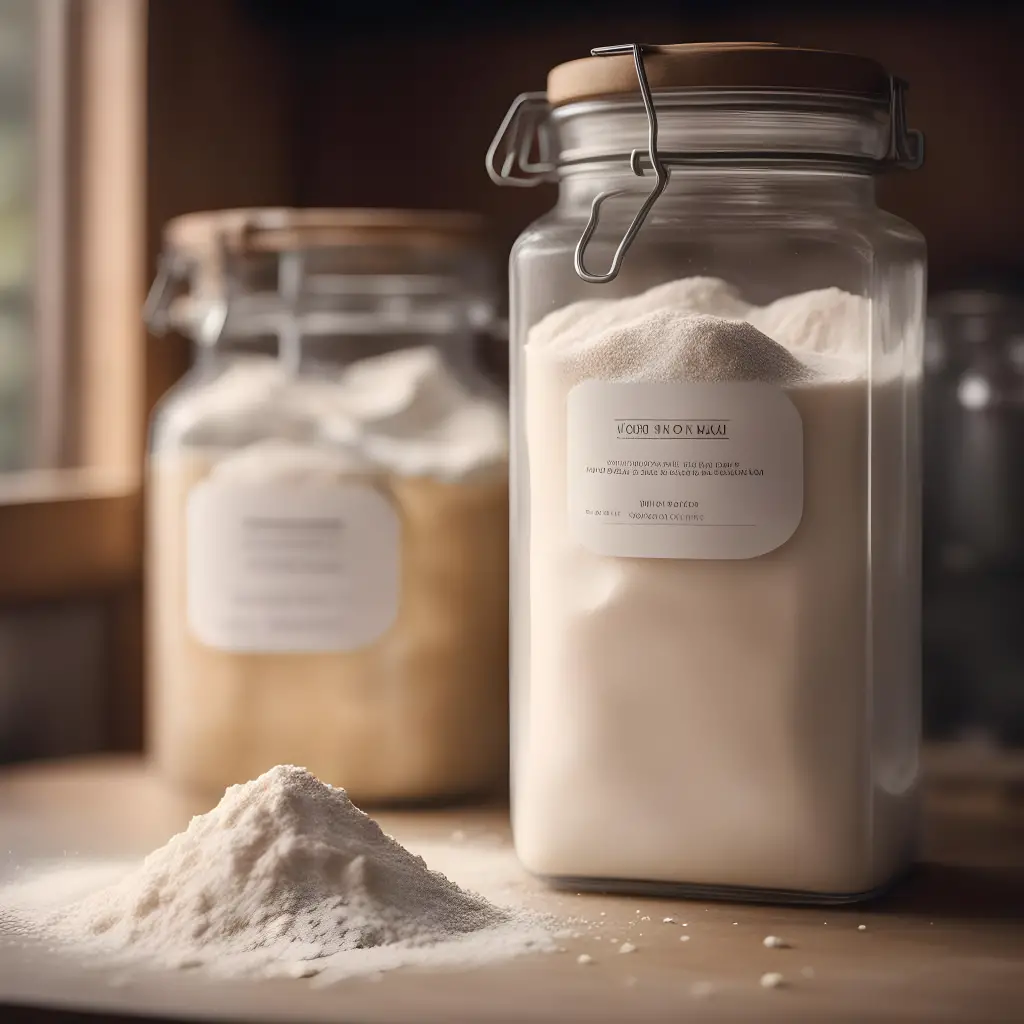
Storing flour in the pantry is essential to keep it fresh and free from pests. To do this, begin by transferring your flour into an airtight container. Mason jars or plastic containers with tight-sealing lids work well. Make sure the container is clean and completely dry before pouring in the flour. Label it with the date of purchase to track freshness.

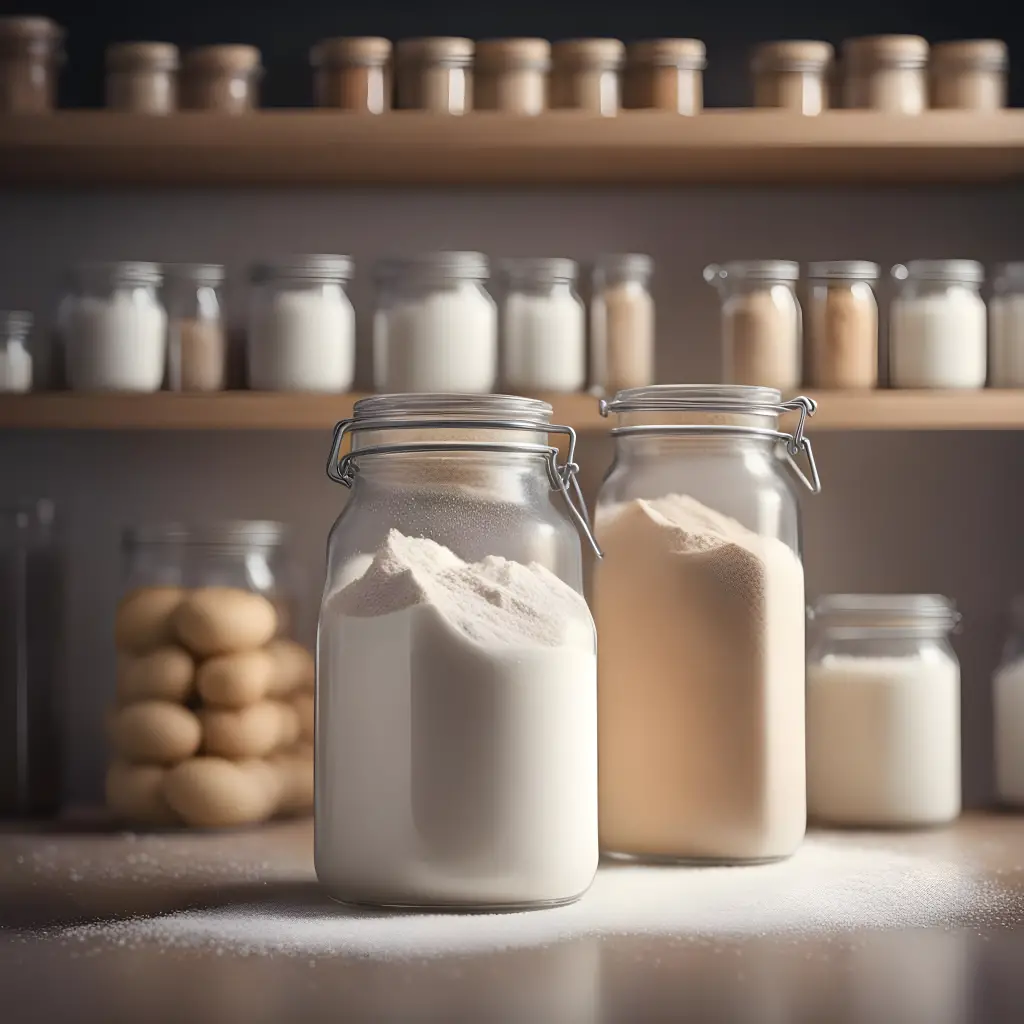
Next, find a cool and dark spot in your pantry, away from direct sunlight and heat sources. Temperature fluctuations can lead to spoilage or the development of rancid flavors in the flour. Keep the flour container off the floor and ideally on a shelf to prevent moisture absorption.
Regularly inspect your flour for any signs of pests like weevils or moisture-induced clumping. If you spot any issues, discard the affected portion and consider using flour within its recommended shelf life, typically six to eight months for all-purpose flour, and even less for whole wheat varieties.
Understanding the Importance of Proper Flour Storage
Before we jump into the specifics of storing flour, let’s understand why it’s crucial. Flour, made from ground wheat or other grains, is highly susceptible to spoilage and degradation if not stored correctly. Here’s why:
- Preserving Freshness: Flour can go rancid when exposed to air and light, leading to an off-putting taste and odor in your baked goods. Proper storage prevents this.
- Preventing Pest Infestations: Flour is a favorite target for pantry pests like weevils and moths. Proper storage methods act as a shield against these unwanted intruders.
- Maintaining Nutritional Value: Over time, improperly stored flour can lose essential nutrients. Storing it correctly ensures that it remains nutritionally intact.
- Enhancing Baking Results: High-quality flour, stored well, translates to better-textured bread, cakes, and pastries. Your recipes will thank you!
Now that we understand the significance of proper flour storage, let’s dive into the step-by-step process of How to Properly Store Flour in Your Pantry and keep your flour fresh and ready for your culinary adventures.
The Flour Storage Process
1. Choose the Right Container
Selecting the appropriate container is the first step to preserving your flour’s quality. Opt for an airtight container made of a material that won’t react with the flour. Glass or food-grade plastic containers with tight-fitting lids are excellent choices.
2. Clean and Dry the Container
Before transferring your flour, ensure the container is clean and completely dry. Any moisture can lead to clumping and spoilage.

3. Use a Sealed Bag
Consider using a resealable, food-grade plastic bag inside your container for added protection. This extra layer helps maintain the flour’s freshness.
4. Label the Container
To avoid confusion, label the container with the flour type and the purchase date. This makes it easy to rotate your stock and ensure you always use the oldest flour first.
5. Store in a Cool, Dark Place
Flour is sensitive to temperature and light. Store your container in a cool, dry, and dark place, away from direct sunlight and heat sources like stoves and ovens.
6. Keep Away from Strong Odors
Flour easily absorbs odors, which can negatively impact the flavor of your dishes. Keep it away from strong-smelling foods like onions and garlic.
Benefits of Proper Flour Storage
Investing time and effort into proper flour storage brings several benefits:
- Cost-Efficiency: By preventing spoilage, you save money on replacing flour.
- Better Baking Results: Fresh flour leads to better-tasting and textured baked goods.
- Reduced Food Waste: Proper storage minimizes the chances of throwing out spoiled flour.
Review of Flour Storage Products
- OXO Good Grips POP Container: These airtight containers are a popular choice for flour storage, keeping your ingredients fresh and pests out.
- Rubbermaid Brilliance Pantry Storage Containers: Crystal-clear containers allow you to see the contents and ensure freshness.
- Bormioli Rocco Glass Jar: A stylish glass jar with an airtight seal, perfect for displaying your flour.
- Ziploc Slider Storage Bags: Ideal for keeping flour fresh inside your larger storage container.
- Ball Regular Mouth Mason Jars: Classic mason jars are a charming and effective way to store flour.
- Cambro RFS6PP190 Camwear Container: Durable and stackable, these containers are excellent for bulk flour storage.
- Anchor Hocking Montana Glass Jar: A large glass jar with a metal lid for a rustic touch.
- Progressive International Flour Keeper: A specialized container with a built-in leveler for precise measuring.
- IRIS USA Airtight Food Storage Container: A versatile, airtight container suitable for various pantry staples.
- Tightpac America, Inc. Coffeevac Vacuum Sealed Storage Container: Though designed for coffee, this container is also perfect for flour, providing an airtight seal.

Conclusion
In conclusion, how do you store flour in the pantry? Knowing how to store flour properly is a culinary skill that can significantly impact the quality of your dishes. Following the steps outlined in this guide and choosing the right storage container, you can keep your flour fresh, flavorful, and ready for all your baking adventures. Remember that proper flour storage saves you money and ensures your recipes shine with the best possible ingredients.

